


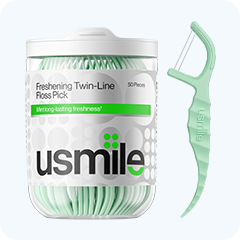

How to Use a Water Flosser with Braces
|
60–90 sec Daily Time Needed Full mouth coverage |
6 mm Below the Gumline Deeper than string floss |
3× Plaque Reduction vs. string floss (PubMed) |
 Flossing with braces is miserable. You need a tiny plastic threader to fish floss under the wire, then loop it around one bracket, move to the next, and so on — for every tooth in your mouth. On a fast night, it takes 15 minutes. Most people last about three weeks before they quietly decide life is too short for this and stop doing it entirely.
The problem is that the damage doesn’t stop just because you stopped flossing. Plaque keeps building. Acid keeps eating at the enamel. And you only find out what happened when the braces come off — sometimes 18 months later — and there are white spots or small cavities right at the bracket edges. By then, there’s not much you can do about it.
That’s the whole reason a water flosser is worth talking about. Not because it’s some revolutionary gadget — it’s just a better fit for the specific problem braces create. Sixty seconds, maybe ninety on a thorough night. That’s it. And because it’s quick, people actually keep doing it. This guide covers exactly how to use one, which settings to choose, and how it fits into a solid oral care routine that doesn’t take up half your evening.
Why Braces Make This So Hard
 Before braces, oral hygiene was a 2-minute job—brush, floss, rinse, done. After braces, you’ve got metal brackets on every tooth, a wire running the full length of your mouth, elastic ties, and sometimes additional hardware like springs or separators. Each of those things is a new trap for food and bacteria.
Here’s the part most people don’t think about: the worst damage doesn’t come from the food you can see stuck in your brackets. It comes from plaque you can’t see — sitting in the tiny gap between the edge of a bracket and your enamel. That gap is called the bracket margin, and it’s basically unreachable. Your toothbrush can’t angle into it. String floss can’t get there because the wire blocks the path. So bacteria sit there, produce acid, and slowly dissolve enamel.
|
⬜ White Spot Lesions Patches of dissolved enamel. Permanent — whitening won't touch them. |
🦷 Hidden Cavities Invisible under brackets until they come off — already established. |
🔴 Chronic Gum Inflammation Ongoing infection — not just sensitivity. Can progress to serious disease. |
None of this has to happen. It happens when the hardware makes standard tools less effective, and people don't switch to something that works better. A water flosser is that switch.
What Does a Water Flosser Actually Do?
 It pushes a thin, pulsating stream of water through a small tip. You trace it along your gumline, around your brackets, under the wire — and it flushes out food, disrupts plaque, and cleans below the gumline. Studies put the depth at around 6mm, which is deeper than string floss typically goes and definitely deeper than your toothbrush.
The pulsating action is what makes it work. It’s not just water pressure — it’s rapid bursts that create a flushing effect below the gumline, where bacteria sit undisturbed in what’s called the sulcus (the groove between your tooth and gum). Regular brushing doesn’t get down there at all.
But the bigger advantage for braces? The wire is not a problem. String floss needs to get underneath that wire before it can do anything. A water flosser doesn’t care — you point the stream where you want it, from whatever angle works. Straight into a bracket margin from above. Underneath the wire. Along the gumline. It just goes.
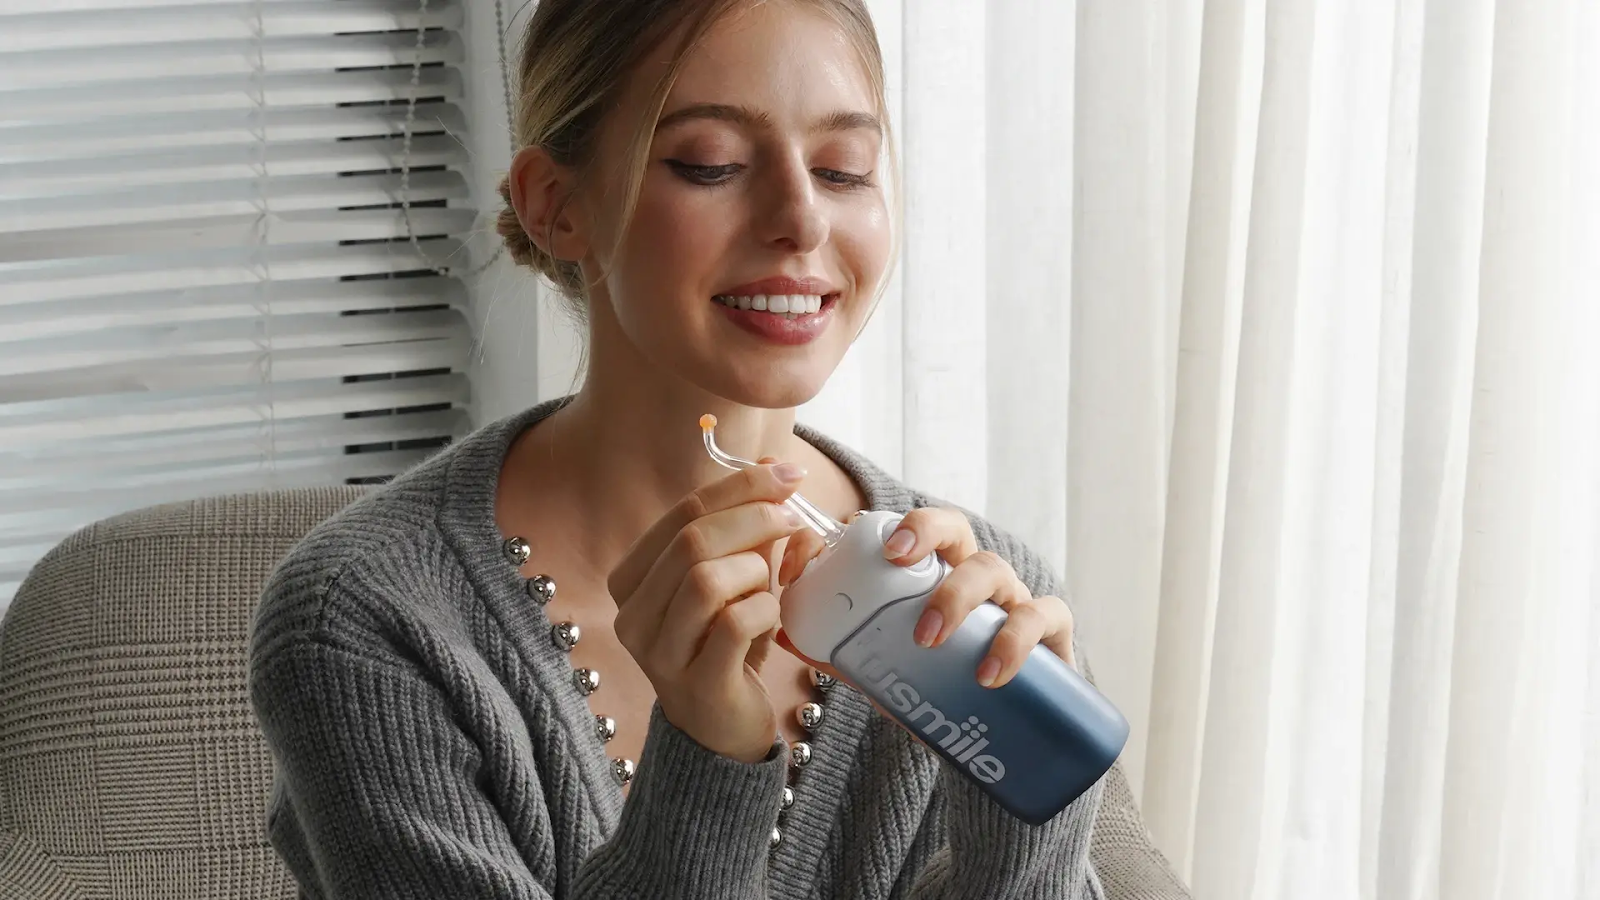
The Parts That Matter
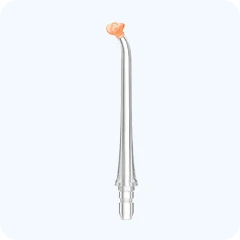
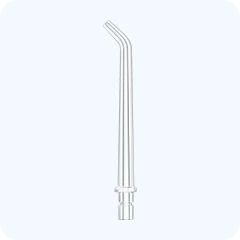
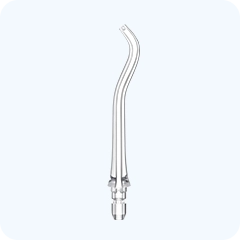
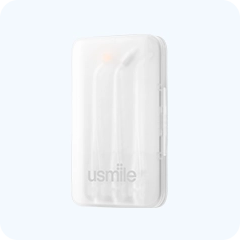
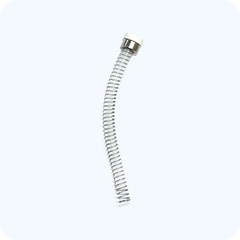
The reservoir is just a water tank — fill it with fresh, lukewarm water before each session, not cold water. The tip is the important part. The one that matters for braces is the orthodontic tip — the one with a small brush at the end. It scrubs each bracket's face while the stream flushes the surrounding area. A regular round tip doesn’t do that. Most models also have a pressure-control dial or button and a pause button, which may seem minor, but you’ll appreciate them the first time you need to reposition mid-session.
|
PRO TIP Confirm whether the device comes with an orthodontic tip or can be purchased separately for that brand. Without it, you’re cleaning around brackets with a standard stream — which helps, but misses the physical scrubbing on the bracket face that actually matters. |
Step-by-Step: How to Use It with Braces
 The first session is always a bit of a disaster. Water on the mirror, possibly on your shirt. You’ll get it sorted by day three or four. Here’s the actual sequence:
|
1 |
Fill the reservoir with lukewarm water. Not cold — cold water on tender brackets (especially after a tightening) is a jarring experience you don’t need. |
|
2 |
Put on the orthodontic tip. The one with the brush. Every time, with braces. |
|
3 |
Set the pressure to the lowest setting. Low still cleans. Don’t assume you need to feel a blast for it to work. |
|
4 |
Lean over the sink, place the tip in your mouth, close your lips loosely around it — just enough to keep most of the water in. Flip the device on before it goes in your mouth if you want to skip the initial burst. |
|
5 |
Start at the upper back teeth and work forward. Hold the tip at roughly 90 degrees to your gumline — pointing into that gap between tooth and gum, not spraying flat across the surface. About two seconds per tooth. Slow is better than fast here. |
|
6 |
Hit all four zones: outer surfaces top, outer surfaces bottom, tongue-side top, tongue-side bottom. Don’t skip the tongue-side — plaque doesn’t know you’re in a hurry. |
|
7 |
One final pass aimed right into the channel between the archwire and your teeth. Food packs in there after every single meal. The stream clears it out in seconds. |
Find the Perfect Pressure Setting

Start with the lowest pressure and gradually increase it as your gums get accustomed to the flosser. Here’s the full picture:
|
Setting |
When to Use It |
|
🟢 Low / Sensitive |
First few sessions, or the day after a wire tightening, when everything aches |
|
🟡 Medium |
Normal sessions once your gums have settled in |
|
🔴 High |
Deep-clean sessions only — not until your gums are healthy and comfortable |
The day after a wire tightening — that’s when this decision really matters. Your gums are swollen. Your teeth ache. String flossing on those days is genuinely brutal, and most people skip it. A water flosser on the lowest setting is a completely different experience. The pulsating stream around sore gums actually feels kind of soothing. And because you can tolerate it on bad days, you don’t lose a week of cleaning every time your orthodontist tightens things.
|
QUICK TIP Add about a tablespoon of alcohol-free antimicrobial mouthwash to your reservoir. It pushes antibacterial ingredients into places under your wires and around bracket bases that normal rinsing never reaches. Just check your device’s manual first — some brands have specific guidelines about what goes in the reservoir. |
Water Flosser vs. String Floss

Look, string floss isn’t bad. It does one specific thing well: it scrapes the sides of teeth at the contact points — the spots where two teeth touch each other. That’s valuable. But with braces on, even that advantage is partially compromised, because the wire means you can’t wrap floss around a tooth the normal way. You’re always working from a weird angle.
|
✓ Water Flosser |
✕ String Floss |
|
✓ Slides around every bracket with no threading |
You’re threading a needle under each wire first |
|
✓ Full mouth done in under 90 seconds |
15–20 minutes on a good night with braces |
|
✓ Cleans comfortably below the gumline |
Scrapes tooth contact points well — when it can reach |
|
✓ Still usable the day after a tightening |
Rough when your gums are already angry |
|
✓ People actually keep doing it |
Most give up within 6 weeks — threading is just tedious |
A clinical study in PubMed followed patients with braces who used a water flosser with an orthodontic tip versus those who used string floss. After four weeks, the water flosser group had up to three times less plaque around their brackets. Three times. That’s not a rounding error — that’s the wire getting in the way of what string floss can actually do.
The American Dental Association supports daily interdental cleaning in whatever form you actually use. A water flosser counts — and during orthodontic treatment, it often does the job better.
|
KEY TAKEAWAY Water floss daily as your primary tool. Add string floss 2–3 times per week at contact points. That combination covers everything — without the 20-minute nightly routine that nobody actually does. |
The approach most orthodontists end up recommending: water floss every single day as your main tool. String floss with a threader two or three times a week for the contact points between teeth. You get full coverage without the 20-minute nightly ordeal. And — this is the part that matters most — you’ll actually stick to it.
Picking the Right One
You don’t need to spend a lot. But a few things are non-negotiable. The orthodontic tip has to be available for that brand — check before buying; no tip, no point. You need a real pressure range, not just two speeds—at least three levels —because your sensitivity changes week to week during treatment, sometimes dramatically. Look for a 150–200ml reservoir minimum; anything smaller and you’re refilling mid-session, which is annoying enough to make you skip days. And check that replacement tips are actually available before you commit to the device — some budget brands quietly stop stocking accessories.
Countertop or Cordless?

Countertop models plug in. Pressure stays consistent throughout — no battery drain affecting the stream. They hold more water, tend to be quieter, and last longer. Downside: they live on your counter. They don’t travel.
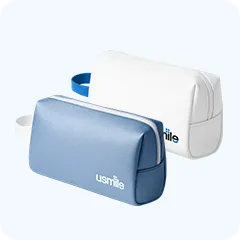
Cordless models are rechargeable. Small enough to pack. Some fit easily in a toiletry bag. There’s a slight drop in pressure near the end of a charge, but honestly, most people never notice. For braces wearers who travel at all — even just occasional trips — a portable dental water flosser makes it possible to keep the habit going away from home, which is exactly when it’s easiest to fall off.
A Full Evening Routine That Actually Works

A water flosser on its own isn’t enough. Here’s a complete routine — everything combined, nothing fancy, takes about 7 minutes:
|
🦷 |
Brush — 2 full minutes. Soft bristles, fluoride toothpaste, and small circular motions angled toward the gumline. Spend extra time right above and below each bracket — that’s where plaque likes to hide. An electric toothbrush with a pressure sensor removes a lot of the guesswork. |
|
💧 |
Water Floss — 60–90 seconds. Every day. Non-negotiable. Hit all four zones plus the archwire channel. |
|
🧵 |
String Floss — 2–3 nights per week: threader or orthodontic superfloss. Focus on the contact points between teeth — not every bracket, just the spaces between them. |
|
🧴 |
Fluoride Rinse — last step. Sixty seconds, then spit. It remineralizes enamel and provides a protective layer against the acidic environment that forms around brackets overnight. |
|
🦷 |
Interdental Brush — between meals. A small brush sweeps food from the bracket-wire channel. Fits in a pocket. |
The American Association of Orthodontists recommends this kind of combined approach throughout treatment. Seven minutes a night for 18 months is a small price to pay compared to discovering white spots when the brackets come off.
Keeping the Device Clean
Warm, damp reservoir. Sitting unused between sessions. That’s basically a mold hotel if you’re not careful. Maintenance takes two minutes — just do it:
|
✓ |
Empty the reservoir after every session. Leave the lid off so it dries fully. This one habit prevents most of the buildup. |
|
✓ |
Pull the tip off the handle after each use. Rinse it under warm water for ten seconds. Let it air dry upright — don’t leave it sitting wet and attached to the handle. |
|
✓ |
Once a week, run a half-water, half-white-vinegar mix through the device into the sink. Let it sit in the internal tubing for about 15 minutes, then flush plain water through. You can’t see the inside of those tubes — this is the only way actually to clean them. |
|
✓ |
Replace the orthodontic tip every three months. The bristles wear down and lose the stiffness needed to scrub bracket surfaces properly. Set a phone reminder right now if you tend to forget things like this. |
|
WATCH OUT If you live somewhere with hard tap water — lots of US cities — scale builds up faster than the monthly flush can keep up with. Do the vinegar flush every two weeks. Or switch to filtered water in the reservoir if deposits persist. |
Frequently Asked Questions
Can the water pressure pop a bracket off?
No — and this question comes up a lot. Orthodontic adhesive is designed to withstand chewing and biting forces, which are much stronger than the water stream of a consumer flosser. If a bracket comes loose during water flossing, it was already failing. The stream just found it before your next appointment did. Use whatever pressure feels comfortable and don’t stress about the hardware.
My gums started bleeding right away. Did I do something wrong?
Almost certainly not. Bleeding at the start is nearly always a sign that gums were already inflamed before you began, not that the water flosser injured them. Inflamed tissue bleeds easily when touched. Keep using the device daily on the lowest setting. Most people see the bleeding ease off within 10 to 14 days as gum health improves. If it’s getting worse — or if there’s pain along with it — check in with your orthodontist.
Before or after brushing — does it matter?
Not as much as doing both. That said, many people find it better to water floss first — it clears debris so the fluoride toothpaste can contact the tooth surface more directly when you brush. Others prefer brushing first and using the flosser as a final flush. Try both for a week. Stick with whichever sequence you’re more likely actually to do every night.
What if I don’t have the orthodontic tip yet?
Use what you have — even a standard tip is better than not cleaning at all. But get the orthodontic tip as soon as possible. Without the small brush on the end, you’re missing the physical scrubbing on the bracket face. Most brands sell replacement tip packs as accessories.
Does it work the same way for ceramic braces?
Yes, the same. The orthodontic tip cleans around ceramic brackets just as effectively as it does around metal ones. Some people worry that water pressure will stain ceramic brackets — that’s not really how staining works. Staining comes from pigments in food and drinks, not from a stream of water. With clear aligners, it’s different—you take them out to brush, so you’re cleaning without hardware in the way, and the approach is simpler.
How long before I actually notice a difference?
Gums usually feel noticeably less puffy and bleed less during brushing within 1 to 2 weeks of consistent daily use. The bigger results — no white spots, no bracket-edge cavities, healthy gum tissue when the braces come off — show up at the end of treatment. Some things didn’t happen. That’s the whole point.
Does it help with bad breath from braces?
Yes, and fast. Brace-related bad breath is mostly caused by food sitting in the bracket-wire channel and breaking down. Flush that out every evening, and the source of the smell is gone. Most people notice a difference within a week — sometimes sooner.
Bottom Line
Braces are expensive. They take time. And the whole investment is aimed at one thing — coming out with a smile that looks and feels good. That doesn’t happen automatically if you skip the cleaning routine for 18 months.
A water flosser is the realistic answer to a real problem. It gets into the spots that cause permanent damage — the bracket margins, the gumline, the archwire channel — in the time it takes to brush your teeth. It’s quick enough that people actually keep doing it. And the research backs it up pretty clearly.
And if you’re still figuring out which device to start with, a portable dental water flosser that travels with you is the easiest way to make sure the habit sticks, whether you’re at home or not.
References and Resources
- American Association of Orthodontists (AAO): Do Braces Cause White Spots on Teeth? — explains how plaque around brackets can lead to white spot lesions and why daily cleaning between teeth matters during treatment.
- American Association of Orthodontists (AAO): Living with Braces: Food, Oral Hygiene, & Care Tips — practical orthodontist-backed advice on water irrigators, fluoride rinse, and cleaning around brackets and wires.
- American Association of Orthodontists (AAO): Oral Hygiene Tips During Orthodontic Treatment — why braces create plaque traps and why brushing, flossing, and rinsing need more attention during treatment.
- American Dental Association / MouthHealthy: Water Flossers and Water Flossing — ADA-backed overview explaining that water flossers can be a good option for people with braces and other dental work that makes hand flossing difficult.
- American Dental Association (ADA): Floss / Interdental Cleaners — confirms that daily interdental cleaning is essential and that water flossers are one of the recognized interdental cleaning options.
- American Dental Association (ADA): Home Oral Care — evidence-based home-care guidance on brushing, fluoride toothpaste, and daily cleaning routines that help reduce caries and gingivitis risk.
- NHS: Oral Health Advice for Patients with Fixed Braces — step-by-step cleaning advice for braces, including brushing above, on, and below the brace, and letting the brush do the work.
- PubMed / AJODO (2008): Effect of a dental water jet with orthodontic tip on plaque and bleeding in adolescent patients with fixed orthodontic appliances — classic clinical study on water-flosser use in braces patients.
- PubMed / International Journal of Dental Hygiene (2024): Oral Irrigator Versus Dental Floss in Orthodontic Patients — systematic review and meta-analysis comparing oral irrigators with floss in fixed-orthodontic patients.
- PubMed / Clinical Oral Investigations (2024): The effectiveness of water jet flossing and interdental flossing among orthodontic patients — review showing both methods help reduce plaque and gingival bleeding, with water-jet flossing showing potential advantage.
quicklyto scrub bracket surfaces properlyactually to do every nightSomethingsproduced by didn’t


Looking for something else?

Can You Use an Electric Toothbrush with Braces?
LEARN MORE
Best Inexpensive Electric Toothbrushes in 2026
LEARN MORE
The 5 Best Electric Toothbrushes of 2026: Tested, Ranked, and Reviewed
LEARN MORE
Best Electric Toothbrush for Travel in 2026: Top Picks, Tested and Ranked
LEARN MORELooking for something else?

Electric Toothbrush Not Charging: Complete Guide
LEARN MORE
Electric Toothbrush in Carry-On Complete Travel Guide
LEARN MORE
Best Electric Toothbrush for Teens (2026): Top Picks, Tested and Reviewed
LEARN MOREYou may also like

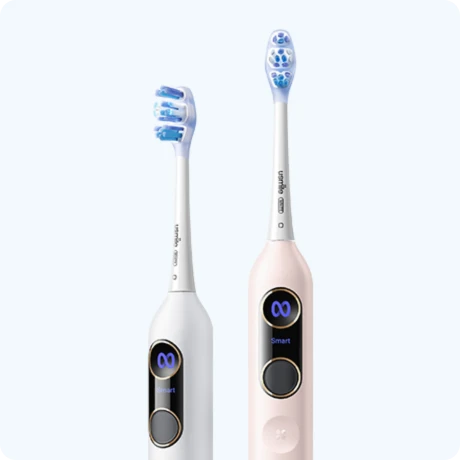
usmile P10 S Electric Toothbrush

usmile Q30 Kids Electric Toothbrush
Further reading

Prime Day Oral Care Deals 2026: Your Complete usmile Bundle Guide

Why Do My Gums Bleed When I Brush My Teeth?

How to Repair Enamel and Prevent Further Damage
