


How to Use a Water Flosser Without Making a Mess
Water flossers are one of the most effective tools in any oral care routine. They reach spots a toothbrush misses, and they're especially useful if you have braces, implants, or sensitive gums. But the first few times you try one, the bathroom mirror tells a different story.
The good news — the mess is almost entirely technique. Get the angle right, keep your lips lightly closed, and lean slightly forward. That's the core of it. The rest of this guide fills in the details: how to set up, how to move through each section, what to avoid, and a few small habits that make the whole process smoother.
Whether you're brand new to water flossing or just tired of soaking your shirt, the steps below will help you get it right from the start.

Understanding Water Flossers and Their Benefits

What Is a Water Flosser?
A water flosser is a handheld device that shoots a targeted stream of water between your teeth and along the gumline to clear out plaque, food debris, and bacteria. Unlike string floss, which relies on physical scraping, water flossers use pressure and pulse to flush out what your brush leaves behind.
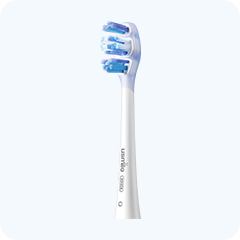
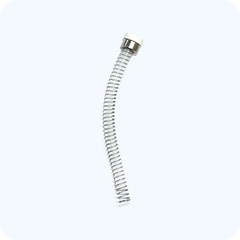
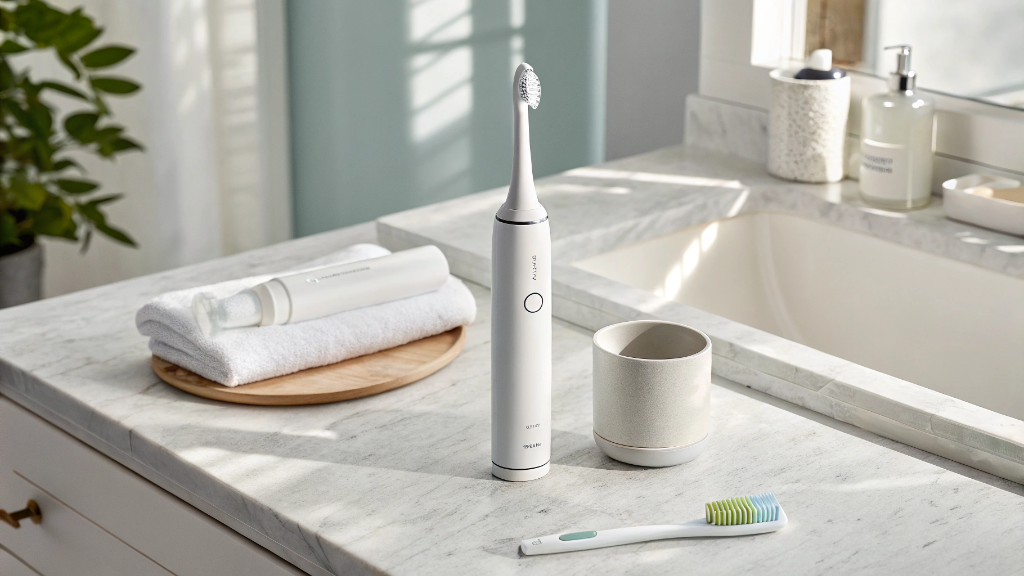
There are two main formats. Countertop models sit on your sink and draw from a larger reservoir. Portable models — like the C10 Portable Dental Water Flosser — are compact, cordless, and easy to bring along when you travel or have a smaller bathroom.
Benefits of Using a Water Flosser

Water flossers may help improve gum health over time, especially for people who struggle to floss consistently with string. A few of the practical benefits:
- Reaches below the gumline and between teeth where brushing doesn't get to
- Can support gum care for people with bleeding or sensitive gums
- Useful for cleaning around braces, bridges, implants, and crowns
- Easier to build into a daily routine — especially for anyone who finds string floss awkward or uncomfortable
- Works well as part of a brushing and flossing combination rather than a full replacement
Preparing to Use Your Water Flosser

Choosing the Right Water Flosser
For most people, portability and pressure control are the two things that matter most. A compact model with adjustable settings is easier to use correctly — and easier to control when you're learning.
The usmile C10 has a slim design, multiple pressure modes, and a 180ml tank that's enough for a full session. The C30 is slightly larger with a longer battery life, which suits people who want a countertop-adjacent experience without the cord. Both are good starting points if mess reduction is the goal — smaller reservoirs give you more control than oversized models.
Filling and Adjusting the Reservoir

Fill the tank with lukewarm water. Cold water can feel sharp on sensitive gum tissue, and hot water may affect the flosser's seals over time. Lukewarm is the right middle.
Don't overfill. Filling to the line — not above it — keeps the pressure stable and makes the session easier to manage. If you're using the device for the first time, start on the lowest pressure setting and work up from there.
Setting Up Your Flossing Space
Stand over the sink and lean slightly forward before you start. This one habit prevents more mess than any other adjustment.
A few setup habits that help:
- Keep your face about four to six inches from the sink basin
- Have a small towel nearby — not for drying the mirror, just for wiping your chin
- If you're learning, do the first few sessions in a shower or over a large basin until the technique feels natural
Step-by-Step Water Flossing Technique

|
45° tip angle to gumline |
Low → High start pressure, then adjust |
30 sec per arch, front to back |
Starting With the Front Teeth

Place the tip in your mouth before you turn the unit on. This is the single most common source of splashing — people switch the device on while it's still pointing outward.
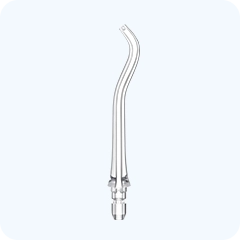
Close your lips gently around the tip, keeping just enough of a gap so water can drain out into the sink rather than building up in your mouth. Aim the tip at a 90-degree angle to the gumline and work across the front teeth, pausing briefly between each one.
Flossing the Back Teeth and Molars

Angle the tip slightly backward and move slowly. The back molars are where most people rush, and rushing is exactly what causes water to pool and splash.
Work section by section: upper left, upper right, lower left, lower right. Pause at each gap between teeth rather than sweeping continuously. The brief pause at each space lets the pressure do the work instead of the movement.
Special Tips for Braces or Dental Work

If you have braces, lower the pressure setting by one step from your usual starting point. Target the area around each bracket individually before moving along the wire.
For implants or crowns, the technique is the same but take extra care to angle the tip slightly under the gumline where the restoration meets tissue. This is where bacteria accumulate and where brushing typically can't reach. A brushing and flossing combination — brush first, floss second — works best for getting the most out of each session.
Common Mistakes That Cause Mess

Most water flosser mess comes from a small set of recurring errors:
- Starting the device outside your mouth. Turn it on only after the tip is positioned inside, lips lightly closed.
- Using high pressure immediately. Higher pressure means more volume, more backsplash, and less control. Start low.
- Leaning back or standing upright. Water needs somewhere to go. Lean forward and let gravity help drain it into the sink.
- Keeping lips clamped shut. You want a small gap — not a tight seal. Sealed lips trap water and it escapes in unpredictable directions.
- Overfilling the tank. An overfull reservoir creates inconsistent pressure. Fill to the marked line.
|
Quick reminder The goal is a controlled rinse, not a power wash. Most mess comes from too much pressure, not too little. When in doubt, turn it down a notch and let technique do the work. |
After Flossing: Cleaning and Maintenance

Emptying the Reservoir Safely
Don't leave standing water in the reservoir. After each use, drain the remaining water into the sink and leave the lid off or cap open so it can air out. Standing water is where bacteria grow, and a damp closed reservoir creates the exact conditions you're trying to clean away from your mouth.
Cleaning the Tips and Device

Rinse the tip under running water after each session. Once a week, soak it in a small cup of water and white vinegar for about five minutes to clear any mineral buildup.
For the main unit, wipe down the outside with a damp cloth. If you notice a slight odor from the reservoir, run a diluted vinegar solution through it once and then flush it with plain water.
Storage Tips

Store the flosser upright with the tip removed. This prevents residual water from dripping onto the counter and keeps the nozzle from picking up surface bacteria between uses.
- A small tray or mat under the unit catches any drips without making the counter look messy
- Keep the tip in a clean case or cup rather than loose in a drawer
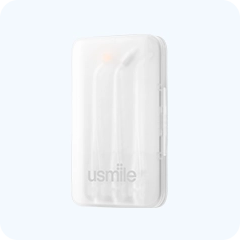
- Replace nozzle tips every three to six months, or sooner if you notice wear on the tip opening
Mess-Free Experience

The right hardware makes a real difference. These are the two models worth looking at if you want something compact, easy to control, and low on splashback:
|
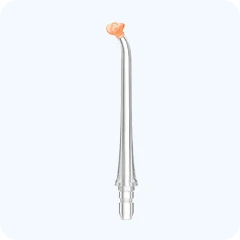
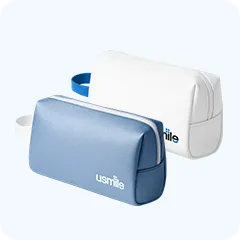
usmile C10 Portable Water Flosser Compact and cordless with four pressure modes. The slim nozzle gives you better tip placement, which is the most practical mess-control feature a device can have. Good for travel, braces, and daily use. |
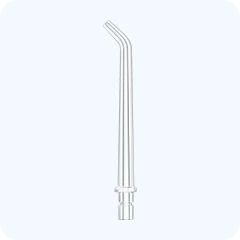
usmile C30 Cordless Water Flosser A step up in tank size and battery life. If you want a longer session or share the flosser with a partner, the C30 handles it without needing to refill halfway through. Still portable enough for a small bathroom shelf. |
You can also browse the full water flosser range if you want to compare models side by side, including accessories like replacement nozzles and guidance tips that may help with precision.
|
The bottom line Water flossing is straightforward once the technique clicks. The three things that matter most are: lips lightly closed, body leaning forward, and pressure starting low. Get those right, and the mess disappears almost entirely. Build it into your usmile right after brushing, and most people notice a real difference in gum feel within a week or two. |
Frequently Asked Questions
How to use a water flosser without a mess?
Put the tip in your mouth before switching the device on. Keep your lips lightly closed — not clamped — and lean forward over the sink. Start on a low-pressure setting and let the water drain naturally rather than pooling. That handles about 90% of the mess.
How to keep a water flosser from making a mess?
Three habits help most: lean forward, start with low pressure, and never turn the device on outside your mouth. A small towel nearby for chin drips takes care of the rest.
Do water flossers make a mess?
They can in the beginning, mostly from incorrect positioning. Once you find the right angle and lean forward over the sink, the mess reduces significantly. Most people get it under control within a few sessions.
Can I use a water flosser with gum disease?
Many people with gum conditions use water flossers as part of their daily care. That said, if you have an active or advanced gum condition, check with your dentist or periodontist first — they may have specific recommendations on pressure settings or technique for your situation.
Do I brush my teeth before or after using a water flosser?
Brush first, then floss. Brushing loosens plaque at the surface. The water flosser then flushes out what's been dislodged and gets into the gaps your brush missed. Doing it in that order gives you a more thorough clean.
Can I put Listerine in my water flosser?
Some water flossers support a small amount of mouthwash diluted with water — check your specific model's manual first. Undiluted alcohol-based mouthwash can damage the internal components and reservoir seals over time, so it's worth confirming before you try it.
Why is flossing no longer recommended?
Flossing is still widely recommended by dental professionals. Some older guidelines were updated based on the quality of evidence available at the time, but the general consensus remains that cleaning between teeth daily — with dental floss, a water flosser, or an interdental brush — supports better gum health than brushing alone.


Looking for something else?

Electric Toothbrush Vibrating vs Rotating: Which One Should You Actually Choose?
LEARN MORE
Electric Toothbrush Round Head vs Oblong: Which Shape Actually Works Better?
LEARN MORE
Stop Making a Mess — Here's Exactly How to Use a Water Flosser the Right Way
LEARN MORE
How to Use an Electric Toothbrush: A Step-by-Step Guide
LEARN MORELooking for something else?

How Often Should You Change Your Electric Toothbrush Head?
LEARN MORE
How to Clean a Water Flosser: A Step-by-Step Guide
LEARN MORE
Can You Use an Electric Toothbrush with Braces?
LEARN MOREYou may also like

usmile Q30 Kids Electric Toothbrush

Y10 PRO Electric Toothbrush x C10 Portable Water Flosser
Further reading

What Do Gum Pockets Look Like? Signs, Depths, and Treatment Options

How to Improve Gum Health Quickly: 9 Easy Daily Tips
Best Electric Toothbrushing Technique: How to Brush Correctly for Healthier Gums