





How to Clean an Electric Toothbrush Head — Why Most People Skip Half the Steps
Grab your electric toothbrush right now and look at the base. Not the bristles — underneath, where the head clicks onto the handle. That dark ring sitting there? Not toothpaste. That’s mold, bacteria, and dried saliva proteins. And it gets a little worse every single day.
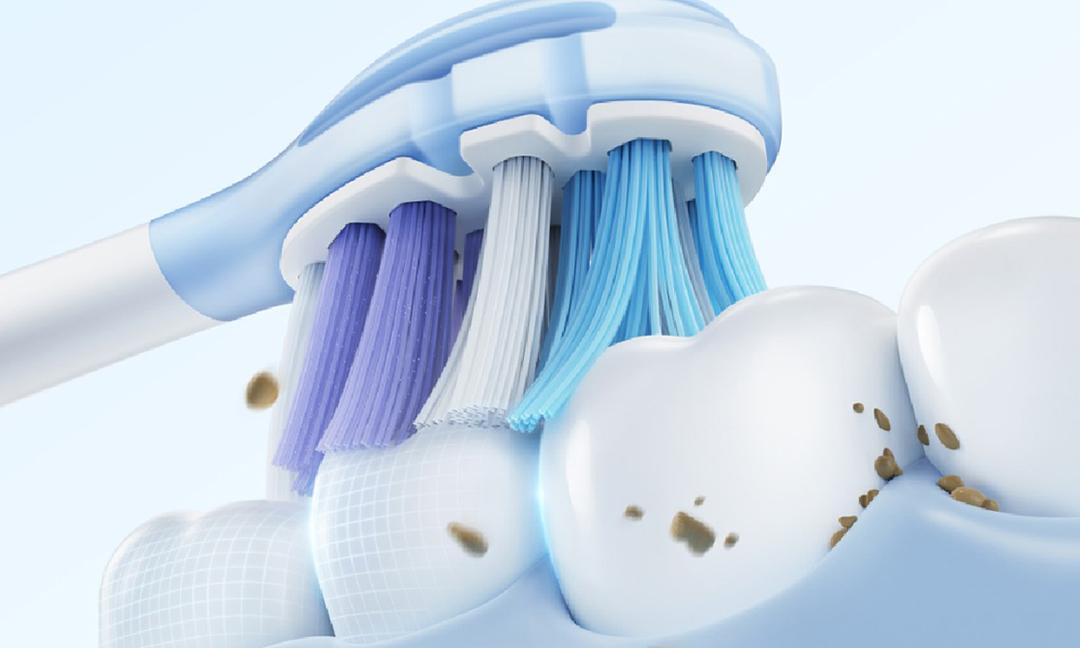
Nobody cleans the brush head. It’s one of those things that sounds like it should be fine — you’re literally cleaning your teeth with it, so surely the brush cleans itself along the way? Nope. Every time you brush, bacteria from your mouth hitch a ride onto the bristles. Moisture collects in the socket. The two of them together create ideal conditions for mold, and the whole thing becomes something you probably don’t want near your gums.
The fix is stupidly simple, though—a 15-second rinse right after brushing handles most of it. One soak per week handles the rest. Nothing expensive, nothing you don’t already own. Just two small habits that slot into an oral care routine you already have. That’s it. This covers exactly how.

|
WHY THIS MATTERS A dirty brush head isn’t just unpleasant to look at — it’s pushing bacteria back into your mouth twice a day. Fixing it takes less than a minute. Skipping it for months genuinely doesn’t. |
What Actually Happens When You Don’t Clean It

Rinsing under the tap after brushing — yeah, that feels like enough. For a day or two, it kind of is. But bacteria thrive in warm, damp bathrooms, and the connector socket between the head and handle is essentially a standing pool of water whenever the head stays attached.
The American Dental Association has been talking about this for years. When you brush, organisms from your mouth transfer to the bristles. Some wash off. The ones that don’t settle at the base — specifically in that socket, which traps water and barely dries between uses. A single toothbrush can carry millions of bacteria, which sounds dramatic until you realize it’s the thing you run across your gumline every morning.
That Slime Is a Specific Thing
The grey-brown film that shows up around the base after a few weeks — cleaning professionals describe it as protein-heavy water dripping down from your mouth during brushing, pooling at the socket, giving bacteria and mold just enough to grow on. The ADA was actually asked to identify this stuff exactly and said they couldn’t pin it down. Make of that what you will.
Beyond hygiene, there’s a practical problem too. Buildup stiffens the bristles. Stiff bristles miss the gaps between teeth and fail to track along the gumline, which is literally the only reason you’re using an electric brush in the first place. So a dirty head doesn’t just gross you out — it brushes worse.
How to Clean an Electric Toothbrush Head — The Right Way
Two levels. Daily rinse — 15 seconds, prevents most problems. Weekly soak — catches what the rinse misses. Do both, and a gunky brush head stops being a thing that happens to you.
After Every Brush — The Daily Rinse

This one’s the foundation. And weirdly, the step most people either skip or do halfway.
|
1 |
Run the head under warm water for 10 to 15 seconds after you brush. A quick dip doesn’t count — actual water flowing through the bristles so toothpaste and debris flush out, not just get wet. |
|
2 |
Shake it a few times — hard. Gets the surface moisture off the bristles rather than leaving it sitting there until morning. |
|
3 |
Pull the head off the handle. This is the step. More than any other one on this list, this is what prevents mold. The socket stays wet when the head stays on. Wet socket, mold grows. Pull it off, both pieces dry, and the mold has nowhere to start. |
|
4 |
Stand both parts upright somewhere with actual airflow. Let them dry before the next use. Not damp — dry. |
|
QUICK TIP The socket is essentially a water trap. Detaching the head so both pieces can dry separately is the single best anti-mold move you can make. Takes two seconds once it’s a habit. |
Once a Week — The Soak

Daily rinsing keeps things manageable, but stuff still accumulates in the socket and around the bristle base over time. Weekly soaking is what catches it before it becomes visible.
|
1 |
Pop the head off, and put the handle somewhere dry. The handle has electronics. Do not soak the handle. |
|
2 |
Pick a cleaning solution. The next section goes through all of them. Short version: hydrogen peroxide or vinegar-baking soda are the two that work best. |
|
3 |
Soak for 5 to 30 minutes. Regular weekly maintenance? Five to ten minutes. The head hasn’t been cleaned in a while, and it shows. Give it 20 to 30. |
|
4 |
Grab a pipe cleaner or an old soft toothbrush and actually scrub the socket and the base of the bristles. Soaking loosens everything. Scrubbing is what removes it. You can’t skip the scrubbing part. |
|
5 |
Rinse under warm running water until no cleaning solution remains. Hydrogen peroxide on your bristles when you next brush is a genuinely unpleasant surprise. Rinse properly. |
|
6 |
Air-dry completely. Snapping a wet head onto a wet handle just starts the problem over again. |
The Handle Gets Gross Too

Toothpaste builds up in the handle grooves and around the buttons — people forget this part entirely. It can’t be submerged, electronics inside. But a damp cloth or antibacterial wipe across the outside sorts the surface. For the grooves and the connector socket at the top, a cotton swab dipped in cleaning solution. Dry everything before putting it back on the charger.
What to Soak Your Electric Toothbrush Head In
Several options. None requires a special trip anywhere. Quick comparison:
|
Solution |
How to Use It |
Soak Time |
|
Hydrogen Peroxide (3%) |
Cover bristles, rinse really well after |
5–10 min |
|
Antibacterial Mouthwash |
Submerge the head, rinse with plain water after |
2–3 min |
|
Vinegar + Baking Soda |
Half cup warm water + 2 tbsp each vinegar & baking soda |
30 min |
|
Mild Dish Soap |
Small drop in warm water, scrub gently, rinse well |
5 min |
Hydrogen Peroxide
Regular 3% from any pharmacy, usually under two dollars. Pour enough to cover the head, wait 5 to 10 minutes, then rinse very thoroughly. And I mean, actually rinse it — peroxide on the bristles when you brush makes itself known immediately, and it’s not subtle—done right, though? Cheap, fast, effective. If you’re picking one thing for weekly maintenance, this is it.
Antibacterial Mouthwash
Most people already have it. Two to three minutes submerged is enough. Not as aggressive as hydrogen peroxide against heavy buildup, but solid for regular upkeep between deeper cleans. Also makes the head smell noticeably better, which is a small bonus worth mentioning.
|
QUICK TIP Alcohol-based mouthwash over alcohol-free — the alcohol carries most of the antibacterial work. Rinse with plain water after, so you’re not brushing with mouthwash residue the next morning. |
Vinegar and Baking Soda
Looks like a school science project, fizzes like one too. Mix half a cup of warm water with two tablespoons each of white vinegar and baking soda — use a bowl big enough to handle the reaction, it actually bubbles. Soak for 30 minutes, scrub, rinse. Research on natural cleaners supports why this works well: the combination is particularly effective at breaking down the protein film behind the grey-brown slime around the socket.
Mild Dish Soap
Fine for lighter sessions — a drop in warm water cuts through oily toothpaste residue without much fuss. Soak for five minutes, scrub lightly, then rinse until there’s genuinely no soapy taste left on the bristles. That last part matters. Soap on the bristles during your next brush is immediately obvious and not fun.
Common Problems and How to Fix Them
Black Stuff on the Brush Head

Black or dark grey buildup. Not residue. Not old toothpaste. Mold. It shows up wherever moisture sits undisturbed, and the connector socket is basically a perfect mold incubator — warm, continuously damp, and traces nutrients from saliva and toothpaste coming in every day. Leave the head attached, and the socket never fully dries. Mold has everything it needs, and nowhere it needs to go.
To fix it: hydrogen peroxide or vinegar-baking soda for 20 to 30 minutes, then a pipe cleaner into the socket and along the bristle base — not the tips, the actual base where bristles attach. That’s where mold roots. Rinse very well after.
To keep it from coming back, pull the head off after brushing each time. Let both pieces dry separately. That’s genuinely the whole solution. Mold can’t persist without ongoing moisture, so remove it.
|
WATCH OUT Mold that keeps returning within a week of cleaning has embedded in the bristle base and won’t come out. Replace the head — new ones are a few dollars. Repeatedly using a mold-contaminated brush costs considerably more in the long run. |
Cleaning the Inside of the Brush Head
The hollow bit that slots onto the handle — the connector socket on the head itself — is the worst spot to reach and the one that collects the most. Water goes in every rinse and barely comes back out.
Pipe cleaners are the right tool. Thin enough to fit, flexible enough to work around the inner walls. Cotton swabs also do it. Dip in hydrogen peroxide or diluted vinegar, work it around inside, and flush under running water. Dental hygienists call this the most overlooked part of toothbrush hygiene — and they’re not wrong. Takes 30 seconds once you’re in the habit.
Heavy Crust Around the Base
Have things been let go for a while? Visible crust where the head meets the handle? Soaking alone won’t shift it. Vinegar-baking soda for 30 minutes first to soften, then a firm brush to work through the crust. Wooden toothpick for anything jammed into tight spots. Go slowly — forcing it can damage the bristles.
Keeping It Clean Long-Term
Replace the Head Every 3 Months
Cleaning deals with hygiene. It doesn’t stop bristles from wearing out. They splay and flatten with use, and once they do, they stop reaching between the teeth and along the gumline, where plaque hides. Three months is the standard. Sooner if you can see the bristles spreading.

Most people end up using worn heads longer than they should because they forgot to reorder. Keeping a couple of replacement brush heads on hand means that’s never the reason you’re still using a tired old one. And if you want a head that’s genuinely easier to keep clean — better drainage design, fewer spots where residue hides — a classic clean soft bristle brush head is worth trying at your next swap.
Where You Store It Changes How Fast Bacteria Come Back

Storage between uses directly affects how quickly things build up again. A few things that actually make a difference:
|
✓ |
Store it upright Sideways means moisture pools in the head all day. Upright, it drains away—simple physics, big difference. |
|
✓ |
No cap at home Great for travel. At home, it’s a mold incubator — warm, sealed, humid. Skip it. |
|
✓ |
Away from the toilet Every flush throws bacteria into the air—six feet of range, no exceptions. Medicine cabinet wins. |
|
✓ |
Keep it to yourself Sharing means sharing a stranger’s oral microbiome even if that stranger is your partner. |
|
KEY REMINDER Two habits do most of the work: detach the head after every brush so the socket dries, and store it upright somewhere open. Everything else follows from those two. |
FAQs
What can I soak my electric toothbrush in to clean it?
Three things that actually work: 3% hydrogen peroxide for 5 to 10 minutes, antibacterial mouthwash for 2 to 3 minutes, or warm water with white vinegar and baking soda for 30 minutes. Hydrogen peroxide or mouthwash for regular weekly upkeep. The vinegar combo for deeper monthly cleans or when there’s visible buildup in the socket. Whatever you use, rinse the head with plain water before brushing again.
How to get rid of black stuff in the electric toothbrush head?
That’s mold, not residue. Soak in hydrogen peroxide or the vinegar-baking soda mix for 20 to 30 minutes, then get a pipe cleaner into the connector socket and along the bristle base — specifically the base, not the tips. Rinse very well. To keep it from coming back: pull the head off after every single brush, let both pieces dry, and do not seal the cap at home. If it’s back within a week of cleaning, it’s rooted in the bristle base, and the head needs to be replaced.
How do you sterilize an electric toothbrush head?
Five to ten minutes in 3% hydrogen peroxide is as close as household supplies get to actual sterilization. Kills the large majority of surface bacteria. Rinse very well after. Antibacterial mouthwash is a milder version. Skip boiling, microwaving, and dishwashers — they all warp or wreck the bristles, and none of them are necessary.
How do you get gunk out of an electric toothbrush?
Soak first, then scrub. The soak softens the buildup — toothpaste residue, dried saliva, mold — so that scrubbing removes it rather than just pushing it around. Pipe cleaner or cotton swab for the connector socket on the head. Cotton swab dipped in cleaning solution for the grooves and buttons on the handle. Warm water rinse for both after.
How to clean the inside of an electric toothbrush head?
A pipe cleaner or cotton swab, dipped in hydrogen peroxide or diluted vinegar, was worked around the inside of the connector socket. That socket rarely dries on its own, which is why it collects more than anywhere else on the head. Do this weekly; it takes 30 seconds. Flush with warm water when done.
Can I use Dawn dish soap to clean my toothbrush?
Yes. A small drop of warm water works well and cuts through oily residue. Soak for five minutes, scrub lightly, and rinse until no soapy taste remains. The only pitfall is soap residue on the bristles — you’ll taste it immediately the next morning. Keep the soapy water away from the handle.
What kills mold on an electric toothbrush?
Hydrogen peroxide is the most effective household option — soak for 10 to 20 minutes, scrub, then rinse thoroughly. Undiluted white vinegar for 30 minutes also works; the acidity disrupts mold growth. Both handle mild to moderate cases. If it comes back within a few days, it’s in the bristle base and needs to be replaced. Prevention is easier: detach after every brush, let it dry, and skip the cap at home.
Can an electric toothbrush remove tartar?
Not hardened tartar, no. Electric brushes are good at removing soft plaque — the film that builds between sessions — before it calcifies. Once it’s hardened and bonded to the enamel, only a hygienist with scaling tools can remove it safely. The brush’s job is to make sure plaque never gets that far. Consistent brushing, regular flossing, and professional cleanings twice a year — that’s what actually keeps tartar in check.
FINAL THOUGHT — It Really Does Take 15 Seconds
This is not complicated. Rinse the head right after every brush. Pull it off the handle so the socket dries. Soak it for five to ten minutes once a week — hydrogen peroxide from the pharmacy, done. Swap the head every three months, whether it looks worn or not—four things, none of them hard.
The reason most people land on this guide isn’t that the steps are difficult. It’s that they had no idea the brush head needed cleaning until something showed up — the dark ring, the slime, and gums that gradually got worse despite brushing every day. By the time any of that is visible, it’s been building for weeks.
People whose brushes always look brand new — same handle for eight, ten years, no buildup — aren’t doing anything involved. They rinsed it the first time, pulled the head off, and let it dry. And they just didn’t stop.
The habit is nothing. What it prevents over a year or two of daily brushing — gum inflammation, stiffened bristles that miss the gumline, mold on something you put in your mouth every morning — that part adds up fast and in ways that are annoying to undo.
Start tonight. Rinse it. Pop the head off. Set both pieces upright. That’s the whole thing. Do it once, and it’s already most of the way to a habit.
Sources
- PMC / Nursing Research & Practice — Frazelle & Munro (2012):Toothbrush Contamination: A Review of the Literature — Systematic review confirming toothbrushes become contaminated from oral bacteria, environment, and storage; documents how contamination increases with use and wet storage conditions.
- PMC — Zautner et al.:Effects of Easy-to-Perform Procedures to Reduce Bacterial Colonization on Toothbrushes — Experimental study showing rinsing plus air-drying reduces bacterial load to 4.8% of maximum contamination; chlorhexidine reduced it further to 1.6%; confirms drying is the most accessible prevention step.
- PMC — Prospective Study — Assessment of Microbial Contamination of Toothbrushes and Methods of Decontamination:Joy et al. — Chlorhexidine, Listerine, and Water Compared — Confirms Listerine and chlorhexidine significantly reduce bacterial growth; plain water alone is largely ineffective at decontamination.
- PMC — Naik et al. (2015):Contaminated Tooth Brushes — Potential Threat to Oral and General Health — Study found that toothbrushes harbor Streptococcal bacteria within days of first use; 0.2% chlorhexidine and sodium hypochlorite were effective decontaminants; plain water was not.
- PMC — Efficacy of Sterilization Techniques — Assari et al. (2022):Toothbrush Decontamination: Hydrogen Peroxide and Other Methods Compared — Ex vivo study confirming 3% hydrogen peroxide produced the greatest percentage reduction in total bacterial count among common household decontaminants.
- MDPI — International Journal of Environmental Research:Hygienic Practices and Contamination Levels in Toothbrushes at Home — Home-setting study linking wet storage habits, toothbrush cover use, and storage near toilets to measurably higher bacterial and mold contamination levels.
- FDA Consumer Update:Beware of Ultraviolet Wands That Give Off Unsafe Levels of UV Radiation — FDA caution on UV sanitizers; confirms some UV devices pose injury risk; relevant context for why household chemical soaks (peroxide, mouthwash) are the safer and more practical option.


Looking for something else?
Best Cheap Electric Toothbrush (2026): Top 5 Budget Picks That Actually Work
LEARN MORE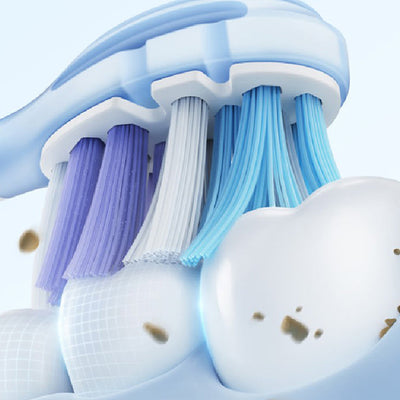
Ultrasonic Toothbrush vs Electric: Which Technology Wins for Your Smile?
LEARN MORE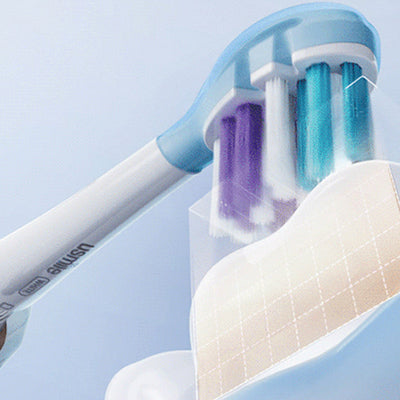
Best Electric Toothbrush for Sensitive Teeth (2026) — 5 Tested
LEARN MORE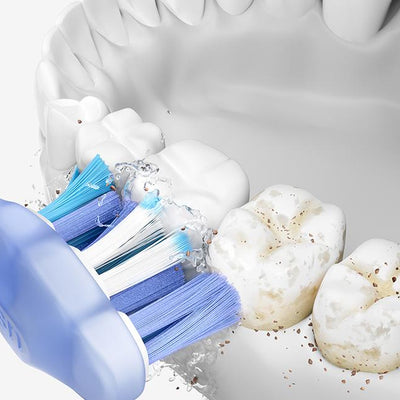
Does an Electric Toothbrush Have a Lithium Battery
LEARN MORELooking for something else?

How to Make Brushing Teeth Fun for Kids Without Daily Battles
LEARN MORE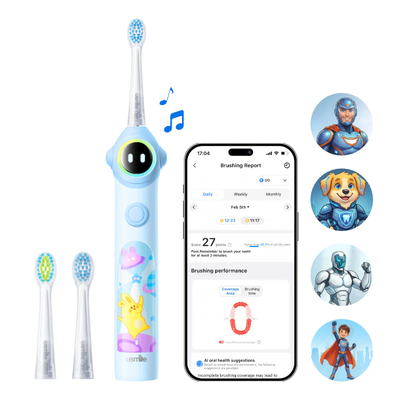
Best Toothbrush for Kids Who Hate Brushing: Parent Guide
LEARN MORE
Best Electric Toothbrush for Kids: What Parents Should Look For
LEARN MOREYou may also like
usmile Y20 PRO Upgraded AI Electric Toothbrush
usmile P10 S Electric Toothbrush

usmile Q30 Kids Electric Toothbrush

usmile C30SE Portable Dental Flosser

usmile Q30 Kids Electric Toothbrush Trio Pack

Further reading

Halloween Candy Before Bed: A Kid-Friendly Cleanup Routine to Protect Kids' Teeth
I Thought My Water Flosser Made My Teeth Gaps Bigger—Here’s What May Actually Be Happening

Why Teeth Look More Spaced Out After Water Flossing